
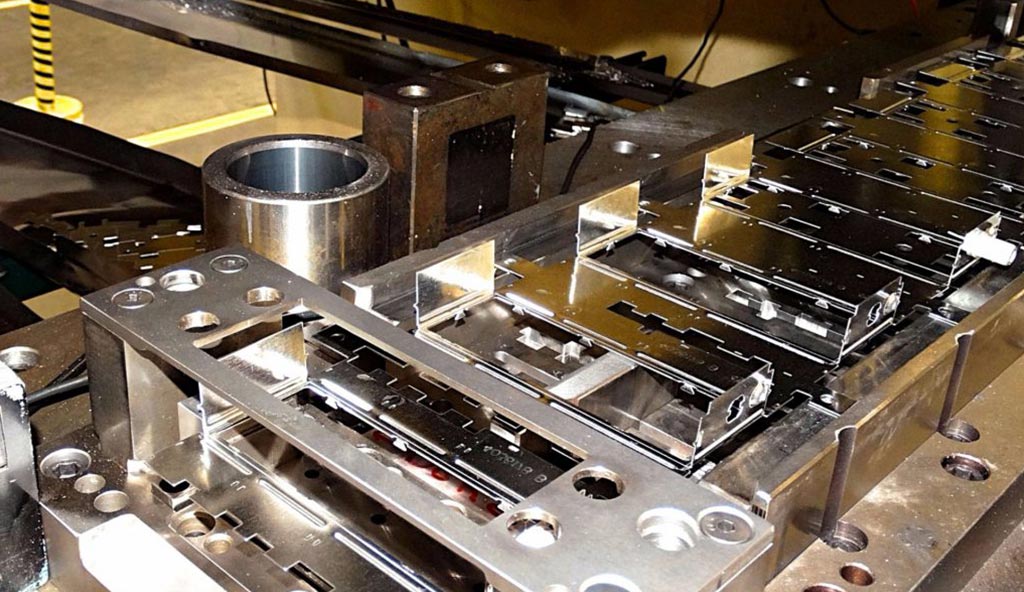
Designing efficient strip layouts is a core skill for engineers working in metal stamping. The right approach to strip layout directly impacts material utilization, tooling life, part quality, and overall production costs. This steel stamping strip layout design guide offers practical insights and proven strategies to help engineers create robust, cost-effective layouts for steel stamping operations.
Whether you are developing layouts for progressive dies, transfer dies, or simple blanking tools, understanding the fundamentals of strip layout design is essential. This article covers key considerations, step-by-step design methodology, and best practices to help you optimize your stamping process.
For those looking to further enhance their stamping process, understanding how to optimize scrap chute angles can lead to smoother material flow and reduced downtime. Integrating these insights early in your design process ensures a more efficient and reliable stamping operation.
Core Principles of Strip Layout for Steel Stamping
At the heart of every successful stamping project is a well-thought-out strip layout. The arrangement of parts on the strip determines not only how much material is used, but also how the die functions and how easily parts and scrap are managed. Here are the primary objectives:
- Maximize material utilization by minimizing scrap and optimizing part nesting.
- Ensure smooth part progression through the die, avoiding jams or misfeeds.
- Facilitate effective scrap removal and part ejection for uninterrupted production.
- Accommodate tooling requirements such as pilot holes, carrier strips, and web widths.
- Support consistent part quality by controlling distortion, burrs, and dimensional accuracy.
Balancing these factors requires a systematic approach and attention to detail at every stage of the design process.
Step-by-Step Approach to Strip Layout Design
Developing an optimal strip layout for steel stamping involves several key steps. Following a structured process helps engineers avoid common pitfalls and achieve the best results.
1. Analyze Part Geometry and Tolerances
Begin by reviewing the part drawing, focusing on critical dimensions, tolerances, and features that affect orientation or nesting. Consider:
- Symmetry and possible rotations for better nesting
- Features requiring special attention, such as holes near edges or bends
- Minimum web and bridge widths to maintain strip integrity
2. Select Strip Orientation and Progression
Decide how parts will be oriented on the strip. Factors influencing this choice include:
- Material grain direction and its effect on part performance
- Ease of feeding and alignment in the press
- Location of pilot holes for accurate progression
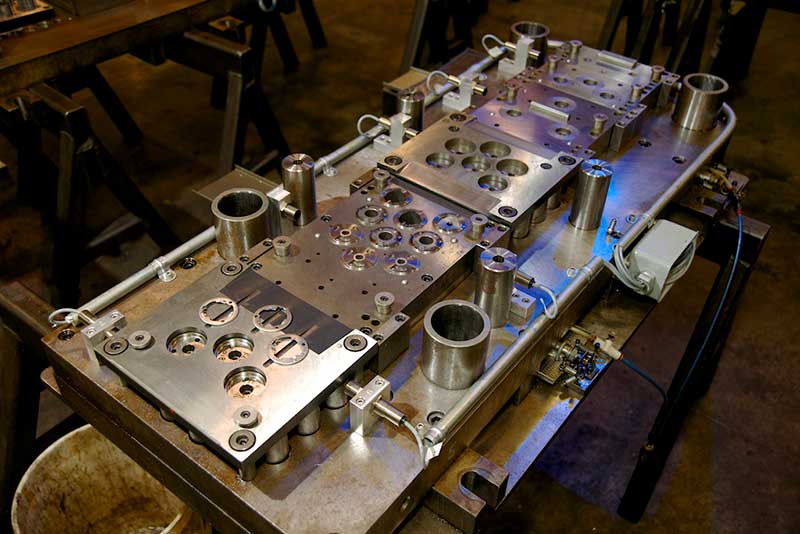
For progressive dies, ensure that the strip advances smoothly and that each station has adequate space for its operation.
3. Determine Pitch, Webs, and Bridges
The pitch is the distance between identical points on adjacent parts along the strip. Calculate the minimum pitch that allows for:
- Safe clearance between parts
- Space for pilot holes and carrier strips
- Room for cutting and forming operations
Webs (material between parts) and bridges (material connecting parts to the carrier strip) must be wide enough to prevent strip failure but narrow enough to reduce scrap. Typical web widths for steel range from 1.5 to 2 times the material thickness, but always verify with your tooling standards.
4. Plan for Scrap Management and Ejection
Efficient scrap removal is vital for high-speed stamping. Design the layout to:
- Direct scrap away from critical tooling areas
- Allow for easy ejection of parts and slugs
- Prevent accumulation that could cause jams
For more on this topic, see our article on how to optimize part ejection in stamping for practical tips.
5. Prototype and Validate the Layout
Before finalizing the die design, create a strip layout drawing and, if possible, a physical or virtual prototype. Check for:
- Material utilization rate
- Feasibility of feeding and progression
- Potential interference between stations
- Ease of part and scrap removal
Iterate as needed to address any issues before moving to production tooling.
Best Practices for Efficient Steel Stamping Layouts
Applying best practices can help engineers achieve layouts that are both efficient and robust. Here are some proven guidelines:
- Align parts to minimize scrap, but never compromise strip strength or die safety.
- Use pilots and carrier strips strategically to maintain accurate progression.
- Consider the impact of steel stamping material yield strength considerations on web and bridge design.
- Plan for easy maintenance and quick die setup by avoiding overly complex layouts.
- For coated steels, follow best practices for stamping coated steels to prevent surface damage and ensure quality.
Regularly review production data to identify opportunities for further optimization, such as reducing pitch or reorienting parts for better yield.
Common Challenges and How to Overcome Them
Even experienced engineers encounter challenges when designing strip layouts for steel stamping. Here are some frequent issues and solutions:
- Excessive Scrap: Re-examine part orientation and nesting. Try rotating parts or using shared edges if possible.
- Strip Breakage: Increase web and bridge widths, or add support features to the layout.
- Misfeeds or Jams: Ensure pilots are correctly placed and that the strip feeds smoothly through each station.
- Tool Wear: Use high-quality tool steels and consider the benefits of vacuum systems in steel stamping for improved die cleanliness and reduced maintenance.
Continuous improvement and close collaboration with toolmakers and operators are key to overcoming these obstacles.
Safety and Compliance in Strip Layout Design
Safety should always be a top priority in steel stamping operations. When designing strip layouts, ensure that:
- All moving parts are guarded and accessible only to authorized personnel.
- Scrap and finished parts are ejected safely, minimizing manual handling.
- Die designs comply with relevant safety standards and best practices.
For a comprehensive overview of safe practices, refer to this metal stamping safety resource that covers essential guidelines for engineers and operators.
Frequently Asked Questions
What is the main goal of strip layout design in steel stamping?
The primary objective is to maximize material usage while ensuring reliable feeding, accurate part production, and efficient scrap removal. A well-designed layout reduces costs and improves overall productivity.
How do I determine the optimal pitch and web width for my layout?
Start by analyzing part geometry and required tolerances. The pitch should allow for safe clearance, pilot holes, and forming operations. Web width typically ranges from 1.5 to 2 times the material thickness, but always confirm with your tooling standards and material properties.
Can strip layouts be optimized after production starts?
Yes, ongoing monitoring of production data can reveal opportunities for improvement. Adjustments to pitch, part orientation, or scrap management can often be made to enhance yield and reduce downtime, though significant changes may require new tooling.
Conclusion
Mastering the art of strip layout design is essential for engineers seeking to optimize steel stamping operations. By focusing on material efficiency, process reliability, and safety, you can develop layouts that deliver high-quality parts with minimal waste. Use the principles and best practices outlined in this guide to refine your approach and achieve better results in your stamping projects.