
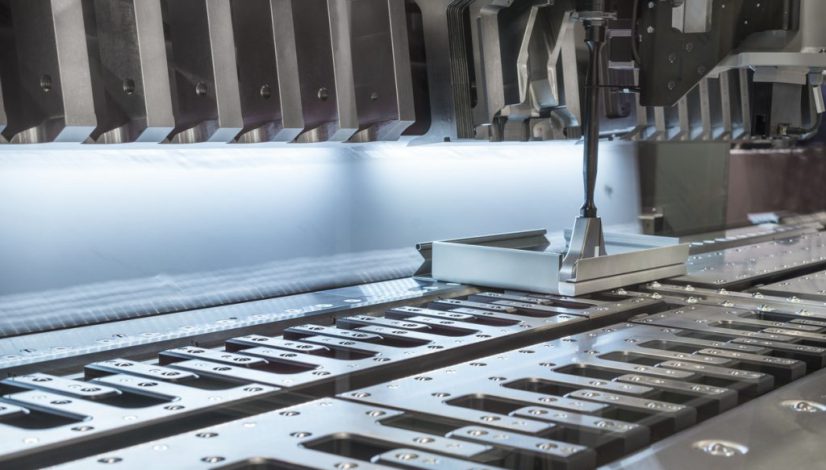
Precision in pilot pin placement is essential for achieving high-quality results in steel stamping operations. The correct positioning of pilot pins ensures accurate alignment, reduces scrap, and extends die life. This steel stamping pilot pin placement guide provides practical insights and actionable recommendations for die designers and manufacturing engineers working with progressive and transfer dies.
Understanding the fundamentals of pilot pin function and their strategic placement can help minimize common issues such as misfeeds, burrs, and part deformation. By following best practices and considering material properties, designers can optimize their stamping processes for efficiency and reliability.
For those interested in related aspects of die design, such as optimizing part removal, the article on how to optimize part ejection in stamping offers further guidance.
Understanding the Role of Pilot Pins in Steel Stamping
Pilot pins, also known as pilots, are critical components in progressive and transfer dies. Their primary function is to ensure the precise alignment of the strip or blank as it advances through each station. Proper pin placement prevents misalignment, which can lead to defective parts, tool damage, and increased downtime.
- Alignment: Pilots engage with previously pierced holes in the strip to position the material accurately for each operation.
- Consistency: Consistent placement reduces cumulative errors, maintaining tight tolerances throughout the stamping process.
- Process Stability: Well-placed pilot pins stabilize the strip, minimizing lateral or longitudinal movement during forming and cutting.
Key Principles for Pilot Pin Placement in Die Design
When developing a steel stamping pilot pin placement guide for die design, several principles must be considered to ensure optimal performance:
- Use of Reference Holes: Pilot pins should engage with holes that are pierced in a previous station, not the current one. This ensures the material is accurately located before each operation.
- Symmetry and Balance: Place pilots symmetrically around the strip centerline to distribute locating forces evenly and prevent twisting or skewing.
- Distance from Edges: Avoid placing pins too close to the strip edge to prevent material distortion or tearing, especially in high-strength steels.
- Progressive Engagement: Stagger pilot entry heights so that not all pins engage simultaneously, reducing the risk of jamming or double hits.
- Accessibility for Maintenance: Ensure pilot pins are accessible for inspection and replacement without major die disassembly.
Common Mistakes in Pilot Pin Positioning
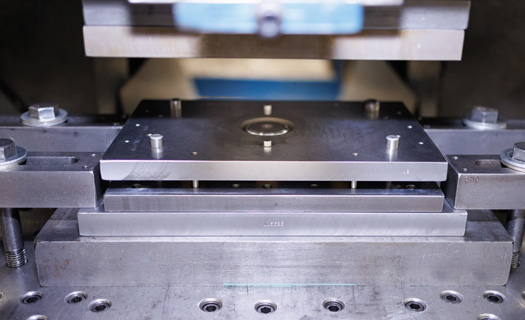
Even experienced designers can overlook critical details when placing pilot pins. Some frequent errors include:
- Incorrect Pitch: Miscalculating the distance between pilot holes and the feed pitch can cause cumulative misalignment.
- Insufficient Pin Diameter: Using pins that are too small for the pilot holes can result in excessive play and poor location.
- Ignoring Material Flow: Not accounting for material stretch or springback can lead to pins missing their intended holes.
- Overcrowding: Placing too many pins can complicate strip movement and increase the risk of jamming.
To avoid these issues, always verify pin and hole tolerances, and consider the effects of material properties on pilot engagement. For more on how material characteristics impact die design, see the article on steel stamping material yield strength considerations.
Best Practices for Locating Pilots in Progressive Dies
Implementing best practices in pilot pin placement is vital for achieving repeatable and reliable results. Here are some recommendations for progressive die setups:
- Lead Pilots: Use a slightly longer lead pilot at the first station to guide the strip into position before other pins engage.
- Pin-to-Hole Clearance: Maintain a clearance of 0.01–0.03 mm (0.0004–0.0012 in) between the pilot pin and hole for most steels, adjusting for material thickness and hardness.
- Material Support: Provide adequate support under the strip at pilot locations to prevent deflection or bending.
- Pin Hardness: Use hardened tool steel for pilot pins to resist wear and maintain accuracy over long production runs.
- Lubrication: Apply proper lubrication to reduce friction and prevent galling between the pin and the hole.
Material Considerations and Pilot Pin Placement
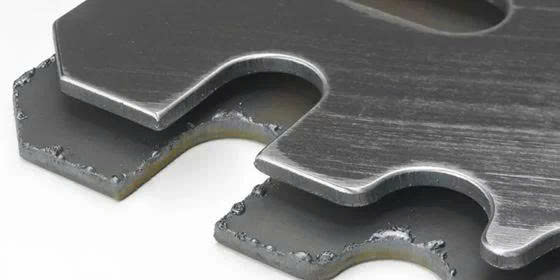
The type and thickness of steel being stamped influence pilot pin design and placement. High-strength and coated steels may require special attention:
- High-Strength Steels: These materials can cause increased wear on pilot pins and may require larger diameters or special coatings.
- Coated Steels: To prevent damage to protective coatings, use polished or coated pilot pins and minimize sharp edges.
- Material Grain Direction: Consider the grain direction when locating pilot holes to reduce the risk of tearing or distortion.
For more on handling coated materials, see the guide on best practices for stamping coated steels.
Inspection, Maintenance, and Troubleshooting
Regular inspection and maintenance of pilot pins are crucial for maintaining die performance. Look for signs of wear, bending, or galling, and replace pins as needed. If alignment issues arise, check for:
- Worn or undersized pilot pins
- Enlarged or deformed pilot holes
- Improper strip support or feed system problems
Addressing these issues promptly helps avoid costly downtime and ensures consistent part quality.
Advanced Tips for Optimizing Pin Placement
For complex dies or high-volume production, consider these advanced strategies:
- Finite Element Analysis (FEA): Use simulation tools to predict material flow and optimize pilot locations before cutting steel.
- Modular Pin Systems: Employ replaceable pilot pin modules for quick changeovers and reduced maintenance time.
- Feedback Sensors: Integrate sensors to detect pilot engagement and alert operators to misfeeds or alignment issues.
For additional insights into optimizing the scrap removal process, refer to how to optimize scrap chute angles.
Industry Resources and Further Reading
To deepen your understanding of metal stamping processes and pilot pin applications, explore this comprehensive overview of metal stamping operations from an industry leader.
Frequently Asked Questions
What is the ideal clearance between a pilot pin and its hole?
For most steel stamping applications, a clearance of 0.01–0.03 mm (0.0004–0.0012 in) is recommended. This allows for easy entry while maintaining precise location. Adjustments may be necessary for thicker or harder materials.
How many pilot pins should be used in a progressive die?
Typically, two to four pilot pins are sufficient for most progressive dies. The exact number depends on strip width, part complexity, and the need for stability. Symmetrical placement is important for balanced locating.
Can pilot pin placement affect burr formation?
Yes, improper pilot pin location or engagement can lead to misalignment, which increases the risk of burrs and poor edge quality. Ensuring correct placement and maintenance of pins helps minimize these defects.
Conclusion
Effective pilot pin placement is a cornerstone of successful die design in steel stamping. By following the principles and best practices outlined in this guide, designers can achieve precise alignment, reduce scrap, and extend tool life. Regular inspection and adaptation to material properties further enhance process reliability and part quality.