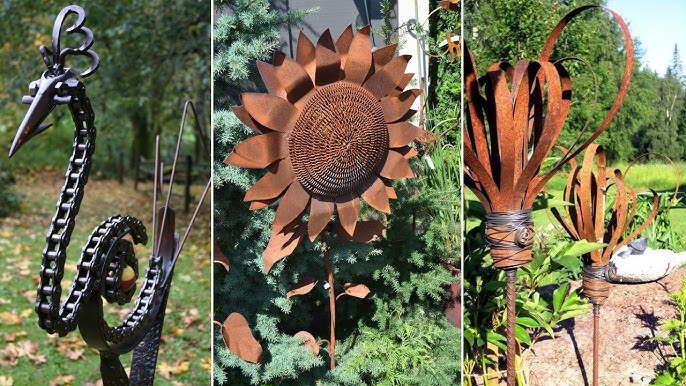
Creating garden markers from metal is not only a practical solution for organizing your garden but also an opportunity to add a touch of art and creativity to your outdoor space. Making garden markers from metal is a rewarding project that combines functionality with aesthetics, making your garden not only more organized but also more visually appealing.

Why Choose Metal for Garden Markers?
Metal is a durable and versatile material for garden markers. Unlike wood or plastic, metal can withstand harsh weather conditions, ensuring that your markers last for years. Additionally, metal offers a sleek and modern look, complementing any garden style.
Benefits of Metal Garden Markers
- Durability: Metal markers are resistant to weather, rust, and wear.
- Customizable: Easily shape and design them to fit any garden theme.
- Eco-friendly: Reusable and recyclable, reducing environmental impact.
Materials Needed for Making Metal Garden Markers
Before you start your project, gather the necessary materials. You’ll need metal sheets or strips, a metal cutter, a hammer, and a set of letter stamps. You might also want to invest in a good pair of gloves to protect your hands while working with metal.
Choosing the Right Metal
When making garden markers from metal, it’s essential to select the appropriate type of metal. Common choices include aluminum, stainless steel, and copper, each offering unique benefits and aesthetics.
Step-by-Step Guide to Crafting Metal Garden Markers
Designing Your Markers
Start by sketching your design on paper. Decide on the size, shape, and text you want to include. This will serve as a blueprint for your project.
Cutting the Metal
Use a metal cutter to trim your metal sheets into the desired shape. Be sure to work carefully to achieve a clean cut, and always use safety equipment.
Stamping the Labels
Once your metal pieces are cut, use letter stamps to imprint the names of the plants or herbs. This process requires precision, so take your time to ensure each letter is clear and properly aligned.
Finishing Touches
Polishing the Metal
After stamping, polish the metal to give it a shiny and smooth finish. This not only enhances the appearance but also adds a layer of protection against the elements.
Adding Stakes
To make your markers stand, attach metal stakes to the back. This can be done using metal adhesive or by welding them together if you have the tools and skills.
Maintaining Your Metal Garden Markers
To keep your metal garden markers looking new, regular maintenance is key. Clean them periodically to prevent dirt buildup and apply a protective sealant to guard against corrosion.
Protecting Against Rust
Ensure your metal markers are protected from moisture, which can cause rust. Consider using rust-resistant metals or applying a rust-proof coating.
Creative Ideas for Metal Garden Markers
Using Recycled Metals
Get creative by using recycled metals for your markers. Old metal tools or household items can be repurposed into unique and charming garden markers.
Personalized Designs
Incorporate personal touches by engraving designs or patterns that reflect your personality or the theme of your garden.
Conclusion
Making garden markers from metal is a fulfilling DIY project that enhances both the functionality and beauty of your garden. With the right materials and a bit of creativity, you can create markers that are not only practical but also a reflection of your personal style.

FAQs
What type of metal is best for garden markers?
Aluminum, stainless steel, and copper are popular choices due to their durability and resistance to weather conditions.
How do I prevent my metal markers from rusting?
Use rust-resistant metals or apply a rust-proof coating. Regular cleaning and maintenance also help prevent rust.
Can I use recycled metal for garden markers?
Yes, recycled metals can be an eco-friendly and creative option for making unique garden markers.
This article contains affiliate links. We may earn a commission at no extra cost to you.

