
Creating kinetic garden sculptures can transform any outdoor space into a dynamic and engaging environment. These sculptures not only add visual interest but also bring a sense of movement and life to gardens. In this guide, we will explore the fascinating world of kinetic garden art and provide you with step-by-step instructions on how to make your own kinetic garden sculptures.
Understanding Kinetic Art
Kinetic art incorporates movement as an essential element of the design. This movement can be powered by natural forces such as wind or water, or by mechanical means. The unique aspect of kinetic garden sculptures is their ability to interact with the environment, creating an ever-changing visual experience.
The History of Kinetic Art
The concept of kinetic art dates back to the early 20th century. Artists like Alexander Calder and Jean Tinguely were pioneers in this field, creating sculptures that moved with the wind or were powered by motors. Today, kinetic art is a popular form of outdoor sculpture, embraced by both artists and hobbyists alike.
Materials Needed for Kinetic Sculptures
Before you begin crafting your kinetic garden sculptures, gather the necessary materials. These may include:
- Metal rods or wires
- Lightweight materials like aluminum or plastic
- Bearing mechanisms
- Tools such as pliers, cutters, and a drill
For more ideas on using metal in garden art, check out this metal art guide.
Designing Your Sculpture
Design is a crucial step in making kinetic garden sculptures. Consider the following:
Choosing a Theme
Your sculpture’s theme can be inspired by nature, abstract shapes, or even whimsical designs. The theme will guide your choice of materials and movement style.
Sketching Your Design
Creating a sketch helps visualize the final piece. This step is essential for planning dimensions and movements.
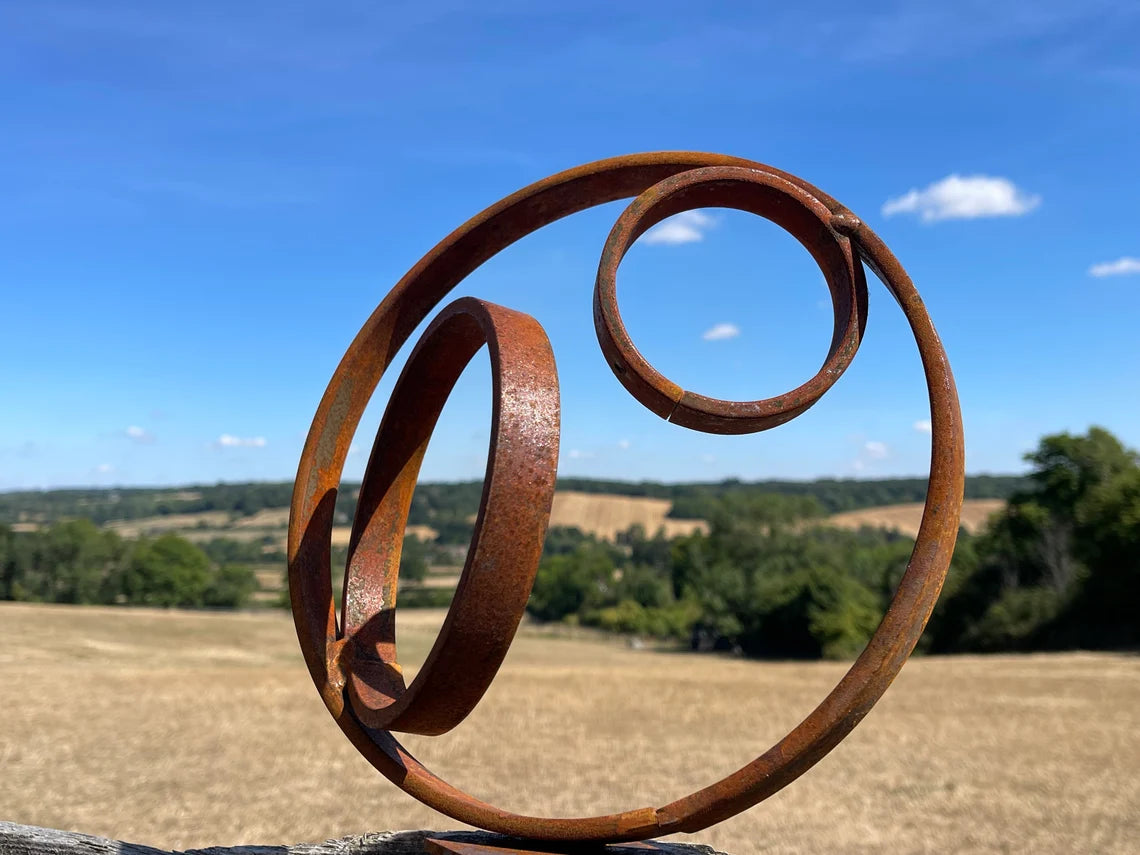
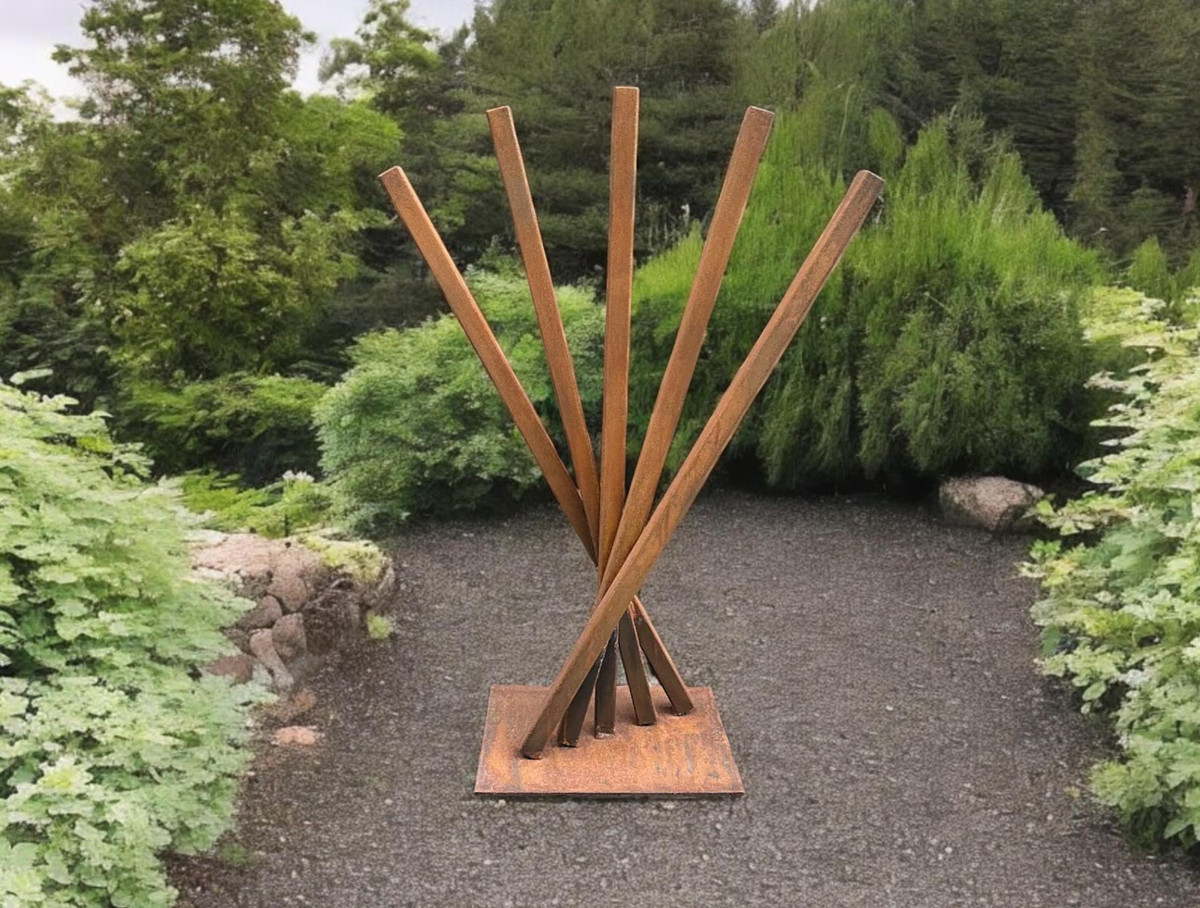
Building the Frame
The frame supports the entire sculpture. Use sturdy materials like metal rods to ensure stability. You can learn more about using metal in outdoor projects from this metalwork article.
Joining Parts
Use welding or strong adhesives to join parts securely. Ensure all joints allow for smooth movement.
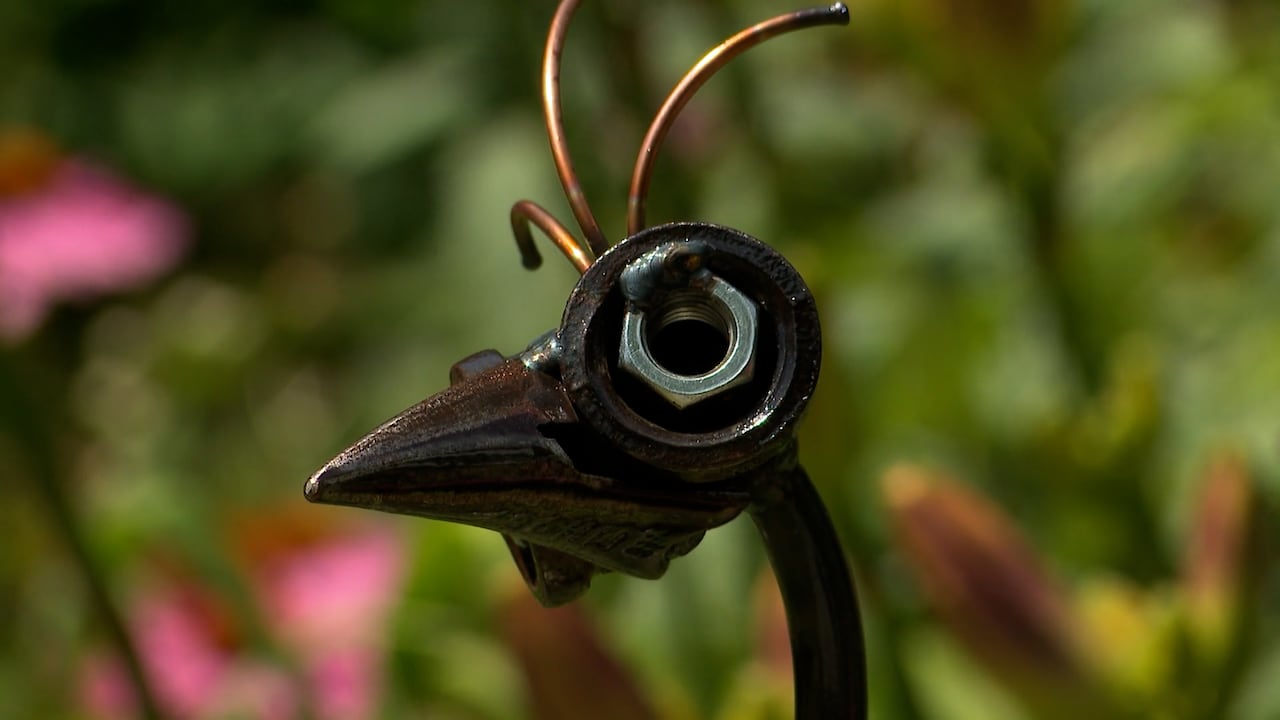
Adding Movement
The movement of your sculpture can be achieved through various methods:
Wind-Powered Motion
Install weather vanes or fan blades to utilize wind energy. The design should be aerodynamic to maximize movement.
Water-Powered Motion
For sculptures near water features, consider using water wheels or fountains to drive motion.
Finishing Touches
Once assembled, paint or finish your sculpture to protect it from the elements. Weather-resistant coatings are recommended for longevity.
Maintenance Tips
Regular maintenance is essential for the longevity of kinetic garden sculptures. Here are some tips:
Inspecting Joints
Regularly check all moving parts and joints for wear and tear.
Cleaning Surfaces
Clean surfaces to prevent rust and corrosion. For more detailed maintenance advice, visit this metal art maintenance guide.
Showcasing Your Sculpture
Position your sculpture in a location where it can be seen and appreciated. Consider the background and lighting to enhance its visual impact.
Conclusion
By following these steps, you can create stunning kinetic garden sculptures that captivate and inspire. These sculptures not only beautify your garden but also provide a unique interactive experience.
FAQs
What materials are best for kinetic sculptures?
Lightweight materials like aluminum and plastic are ideal for creating moving parts, while metal rods provide stability.
How do I ensure my sculpture withstands outdoor conditions?
Use weather-resistant coatings and regularly maintain joints to protect against the elements.
Can I use recycled materials for my sculpture?
Absolutely! Recycled materials can add character and sustainability to your project.
This article contains affiliate links. We may earn a commission at no extra cost to you.