
Creating 3D metal garden art can be an exciting and rewarding experience. Whether you are an artist, a hobbyist, or someone who simply loves to add a personal touch to your garden, learning how to create 3D metal garden art can enhance the beauty of your outdoor space. This article will guide you through the process, offering tips and insights to help you succeed in this creative endeavor.
Understanding the Basics of Metalworking
Before diving into the creation process, it is essential to understand the basics of metalworking. This involves learning about different types of metals, tools, and techniques used in shaping and molding metal. Familiarizing yourself with these fundamentals will set a solid foundation for your 3D metal garden art projects.
Choosing the Right Metal
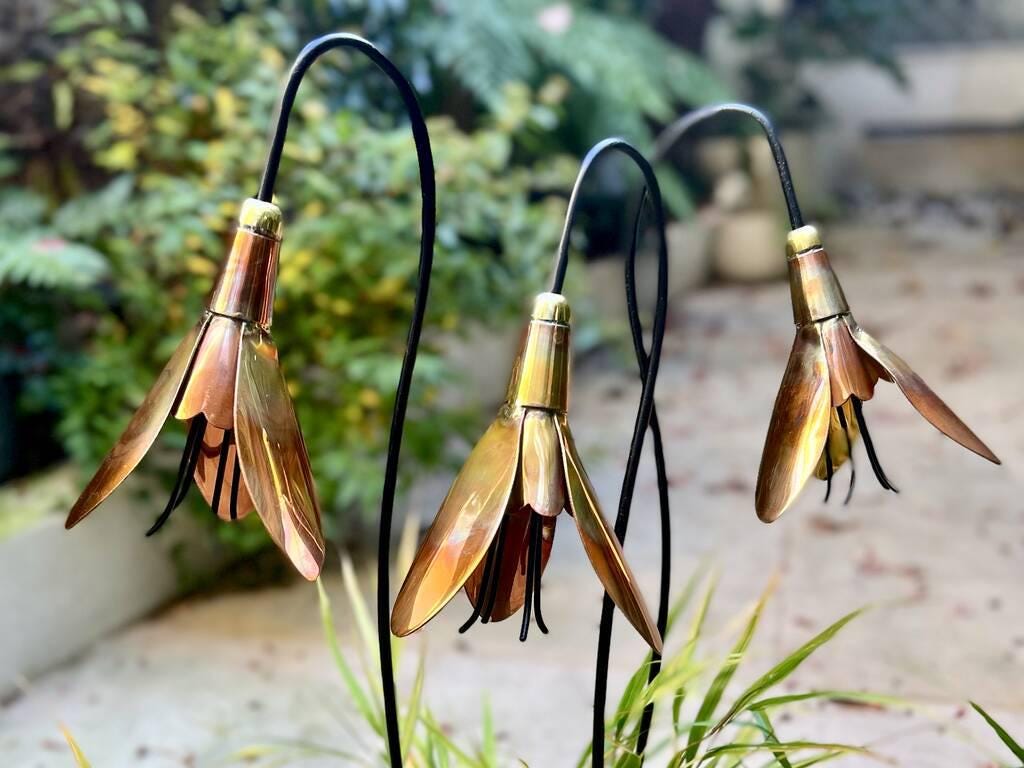
The first step in creating 3D metal garden art is selecting the right type of metal. Some popular choices include steel, aluminum, and copper. Each metal has its own unique properties and benefits. For example, steel is known for its strength and durability, while aluminum is lightweight and resistant to corrosion. Copper, on the other hand, offers a beautiful patina over time. Consider the specific requirements of your project when choosing the metal.
Essential Tools for Metalworking
Having the right tools is crucial for successfully creating 3D metal garden art. Some essential tools include a welder, grinder, and plasma cutter. A welder will help you join metal pieces together, while a grinder smooths out the edges. A plasma cutter allows you to cut through metal with precision. Additional tools such as hammers, pliers, and clamps will also be useful in shaping and manipulating the metal.
Designing Your 3D Metal Garden Art
Once you have a basic understanding of metalworking, the next step is designing your 3D metal garden art. This involves brainstorming ideas, sketching designs, and planning the structure of your artwork.
Finding Inspiration
Before starting your design, it is essential to find inspiration. Look at existing 3D metal garden art pieces online, visit art galleries, or take a walk in nature. Pay attention to shapes, patterns, and textures that catch your eye. You can also explore different styles and themes to incorporate into your design.
Sketching Your Design
After gathering inspiration, start sketching your design on paper. This will help you visualize your 3D metal garden art and make any necessary adjustments before starting the fabrication process. Consider the size, shape, and details of your artwork. Make sure to include measurements and notes to guide you during the construction phase.
Creating Your 3D Metal Garden Art
With a well-thought-out design in hand, it’s time to start creating your 3D metal garden art. Follow these steps to bring your vision to life:
Cutting and Shaping the Metal
Begin by cutting the metal pieces according to your design using a plasma cutter or other suitable tools. Pay attention to safety precautions and wear protective gear to prevent injuries. Once the pieces are cut, use hammers, pliers, and other tools to shape and bend the metal as needed. This step requires patience and precision to ensure a perfect fit for each component.
Assembling the Pieces
With the metal pieces cut and shaped, it’s time to assemble your 3D metal garden art. Use a welder to join the pieces together, following your design plan. Take your time to ensure each joint is secure and stable. Consider using clamps to hold the pieces in place while welding, ensuring accurate alignment.
Adding Finishing Touches
After assembling your artwork, it’s time to add the finishing touches. Use a grinder to smooth out any rough edges and create a polished look. You can also apply a protective coating to prevent rust and enhance the longevity of your 3D metal garden art. Consider adding color or patina to give your artwork a unique and personalized touch.
Displaying Your 3D Metal Garden Art
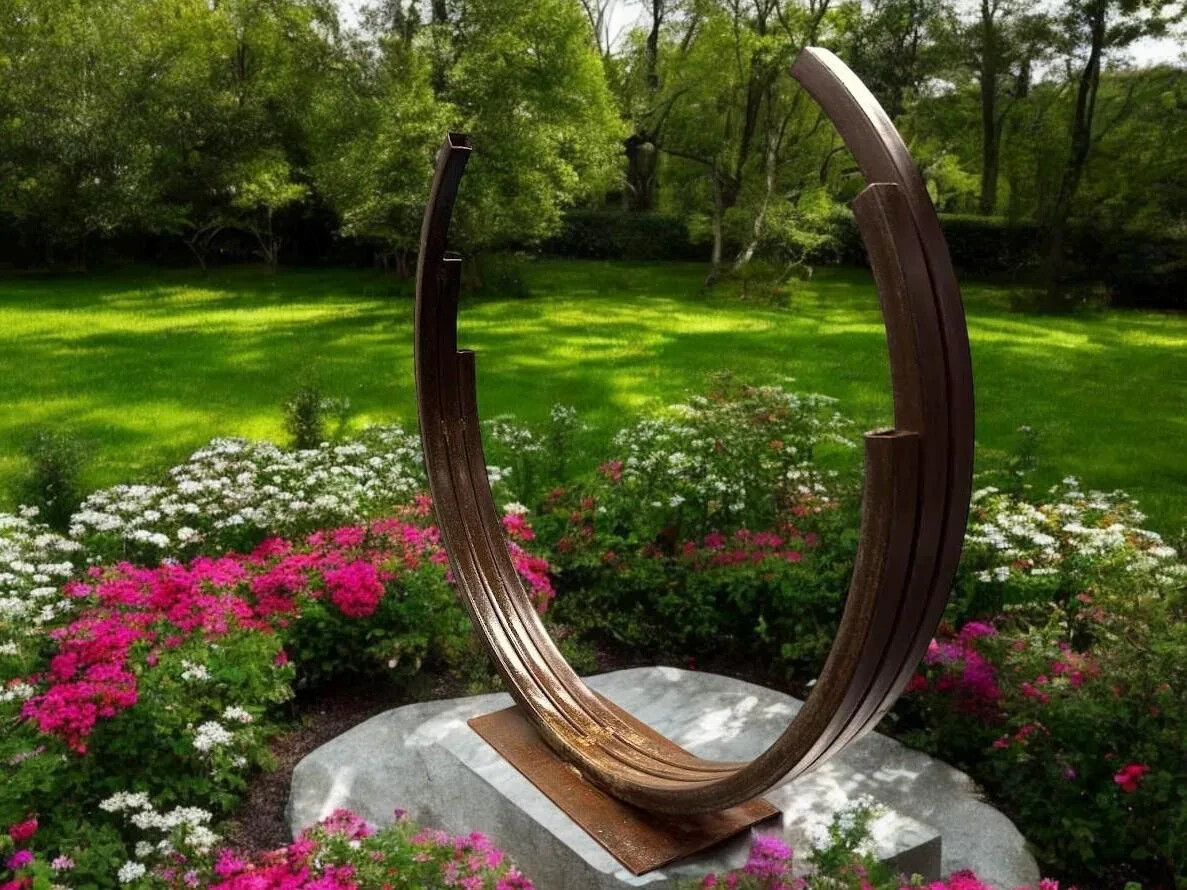
Once your 3D metal garden art is complete, it’s time to showcase your creation in your garden. Choose a location that highlights the beauty of your artwork and complements the overall design of your outdoor space.
Choosing the Perfect Spot
When selecting a spot for your 3D metal garden art, consider factors such as lighting, visibility, and surrounding plants. Choose a location that allows your artwork to stand out and be appreciated from various angles. Keep in mind that placing your art near pathways or seating areas will encourage interaction and admiration from visitors.
Securing Your Artwork
Properly securing your 3D metal garden art is essential to prevent damage and ensure its stability. Use anchors, stakes, or other support structures to hold your artwork in place. Consider factors such as wind, weather, and ground conditions when choosing the best method for securing your art.
Maintaining Your 3D Metal Garden Art
To ensure the longevity and beauty of your 3D metal garden art, regular maintenance is necessary. Follow these tips to keep your artwork looking its best:
Cleaning and Polishing
Regularly clean your 3D metal garden art to remove dirt, dust, and debris. Use a soft cloth or sponge and mild detergent to gently clean the surface. Avoid using abrasive materials that could scratch the metal. After cleaning, polish your artwork to restore its shine and luster.
Protecting Against Rust
One of the main concerns with metal art is rust. To prevent rust, apply a protective coating or sealant to your 3D metal garden art. Regularly inspect your artwork for signs of rust and address any issues promptly to prevent further damage. For more tips on rust prevention, visit this guide on preventing rusty metal furniture outdoors.
Exploring More Metal Art Creations
Once you have mastered the basics of creating 3D metal garden art, consider exploring additional projects to expand your skills and creativity. Experiment with different styles, techniques, and materials to create unique and captivating pieces.
More Metal Art Ideas
If you’re looking for more inspiration, check out our DIY metal garden sculptures for more creative ideas. You can also explore metal flower garden decorations to add a touch of nature to your artwork.
Participating in Workshops and Classes
Consider enrolling in metal art workshops or classes to further enhance your skills and learn new techniques. Participating in these educational opportunities can provide valuable insights and connect you with other metal art enthusiasts.
Conclusion
Creating 3D metal garden art is a fulfilling and creative process that allows you to express your artistic vision while enhancing your garden’s beauty. By understanding the basics of metalworking, designing unique pieces, and maintaining your artwork, you can create stunning and long-lasting metal art for your outdoor space. Embrace this exciting journey and let your creativity shine through your metal garden creations.

FAQ Section
What type of metal is best for garden art?
Steel, aluminum, and copper are popular choices for garden art due to their unique properties and benefits. Steel is strong and durable, aluminum is lightweight and resistant to corrosion, and copper offers a beautiful patina over time.
How can I prevent my metal art from rusting?
Apply a protective coating or sealant to your metal art and regularly inspect it for signs of rust. Promptly address any rust issues to prevent further damage.
Can I create metal art without welding?
Yes, you can create metal art without welding by using alternative joining methods such as riveting, bolting, or using adhesives. These methods may require additional tools and techniques but can be effective for certain projects.
This article contains affiliate links. We may earn a commission at no extra cost to you.